Three years ago, I sat down and decided to totally redo my packaging.
When it comes to packaging, I believe in keeping things simple and, because of this, finding my packaging groove took me a really long time. I love so many packaging ideas – the big boxes and the trinkets and even the crinkly paper that falls out of the box and pools around your feet as soon as you open the box. But! No matter how much I love those things, they just didn’t feel right to me (or my brand) when I’d try to incorporate them into my own packaging. I needed something that felt both unique and authentic – welcoming! – and, when I sat down three years ago, I decided that, at the end of the day, I wanted three things: I wanted to deliver proofs with all of my sessions, I wanted the packaging to feel warm, and I wanted to be able to hold it easily in my own hands. My packaging has evolved since 2013 – I switched to USBs in early 2014 and switched from tissue paper to vintage inspired handkerchiefs in 2015 and, most recently, switched from putting USBs in jewelry bags to wrapping them in handkerchiefs – and I seriously love putting these boxes together because it’s such a creative process and everything ebbs and flows over time. It’s one of my very favorite parts of my entire job and, this past Friday, I decided to photograph my packaging because I currently have, like, four proof boxes waiting to be picked up. I am so excited to finally share a blog post on my packaging – I’ve wanted to do this for years!
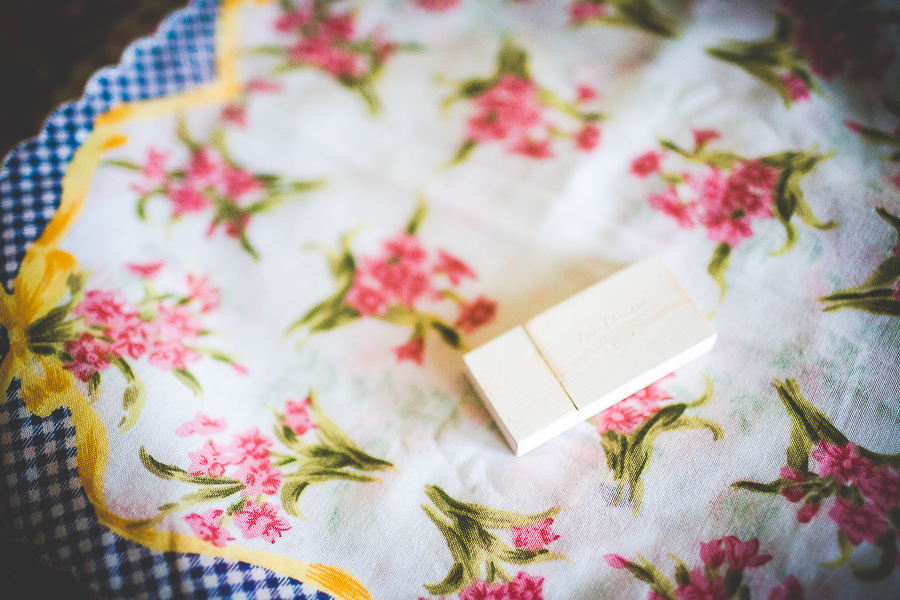
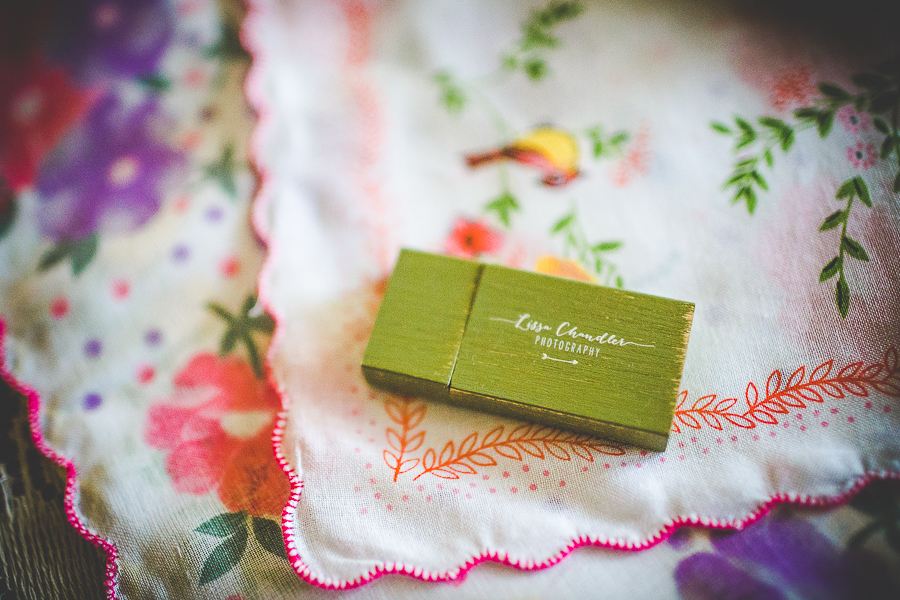
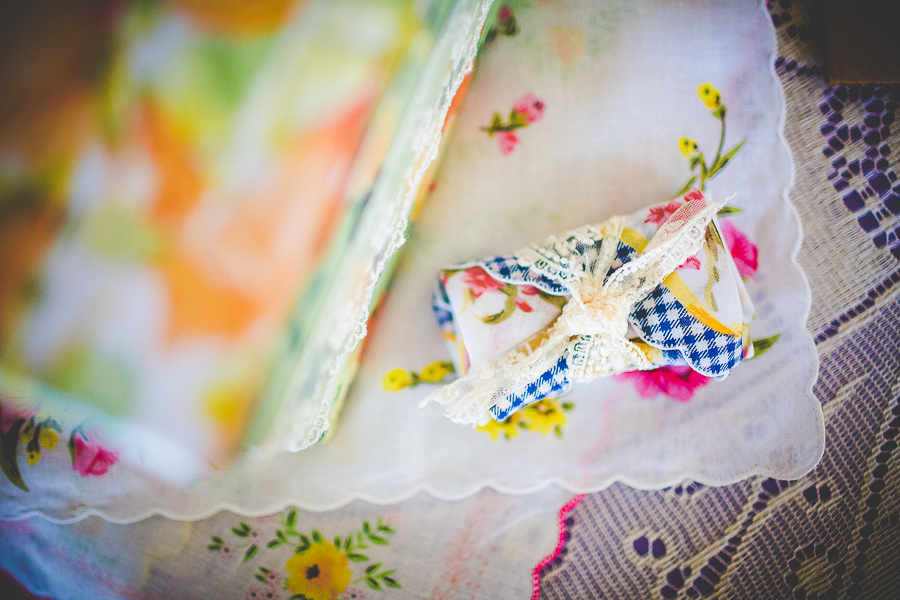
USBs: I order custom USBs from Photo Flash Drive. My wedding USBs are white and my portrait USBs are green. I order these in bulk once or twice a year and they have my old logo embossed on them. The logo is super understated on my white USBs (which I love!) and then super defined on my green USBs (which I also love!). I’ve switched logos since the last time I ordered USBs so, the next time I order these, they will have a different logo. The colors and style will be the same, though!
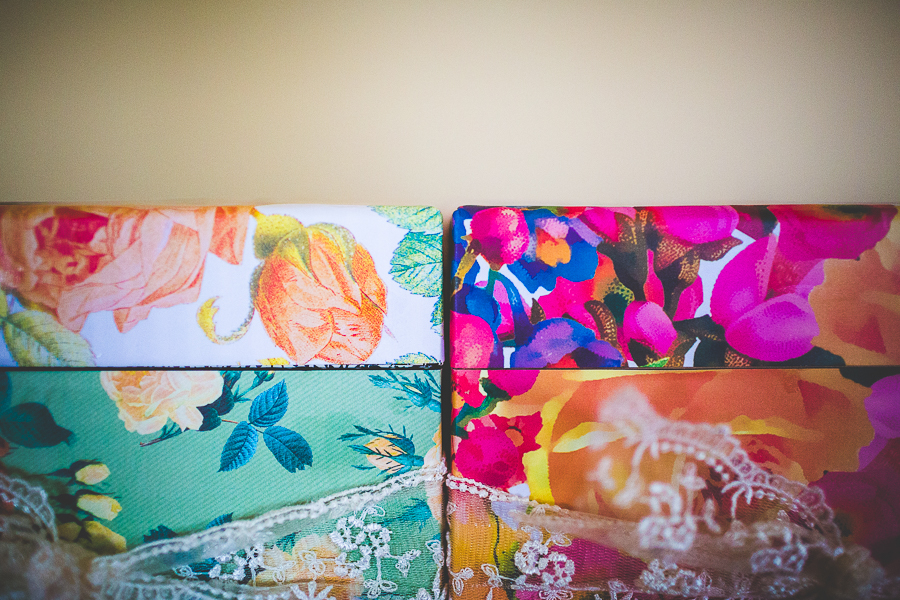
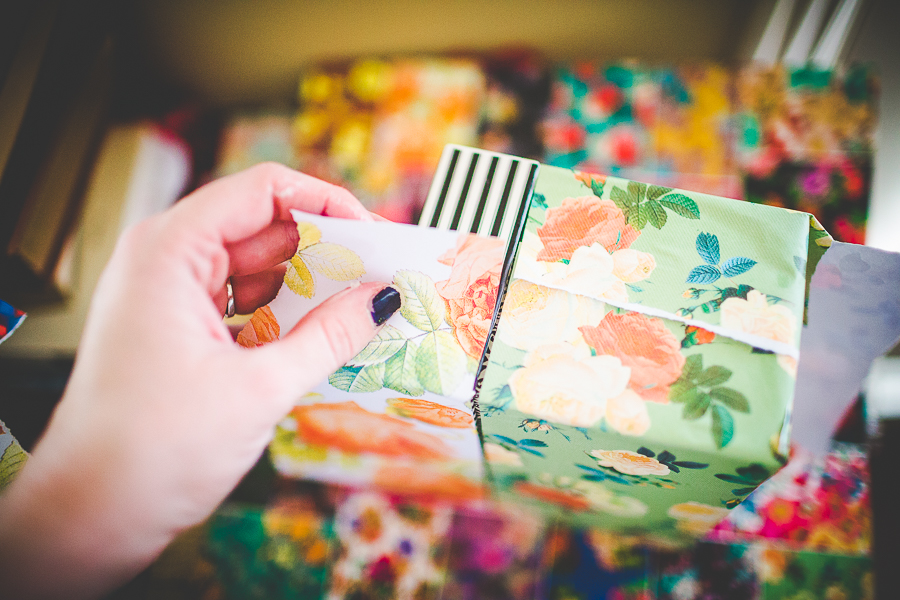
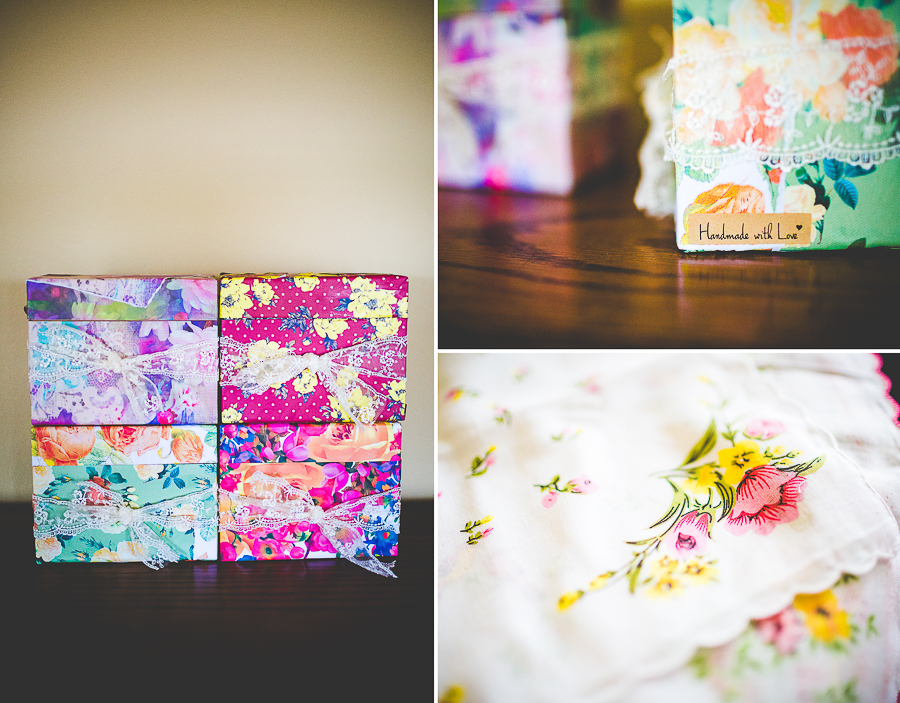
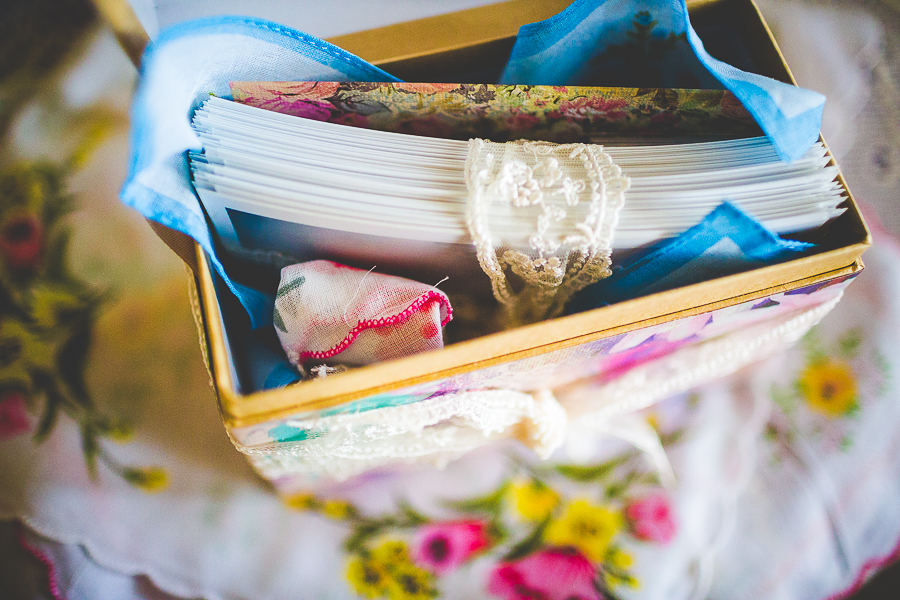
Proof Boxes: My Proof Boxes are my favorite things to make. I love them! There are a billion different ways to deliver proofs and, after thinking really hard of delivering my proofs in custom wood boxes, I happened upon some recipe boxes at a craft store. The box size looked absolutely perfect so I grabbed one, took it home, and then covered it in scrapbooking paper to see what it would look like. I totally dug it. My proof boxes have been essential to my packaging for three years and I have so much fun picking out paper for my boxes. I usually use floral scrapbooking paper – though I use all kinds! – and I personalize each and every proof box for each and every client. I don’t mass produce these. When my USBs are loading, I sit down and make a personalized box with paper that I think my client would love and, because of this, my boxes are totally handmade and individual for each client. I also let myself get as creative as I want with these and, if I feel like doing something a little different, I totally will. I’ll often just use one kind of paper on my boxes but, other times, I’ll use several kinds of paper. I love these boxes and all of my repeat clients mention that they love having a box for every session we’ve ever done together – they line up together real cute! Also, there’s typically lots of squealing when these boxes are delivered. But! One downside! I modge podge the paper to the boxes and, for a few days after they’re made, they totally smell like glue. Ha!
Handkerchiefs: In mid-2015, I ditched tissue paper and started wrapping my proofs in handkerchiefs. Today, I lay a handkerchief in the box and then add everything into the box after the handkerchief is in. Initially, I started out buying real vintage handkerchiefs but sometimes those are stained and shipping is ridiculous so, nowadays, I bulk order vintage inspired handkerchiefs from eBay and Etsy and I adore them + all they’ve added to my packaging.
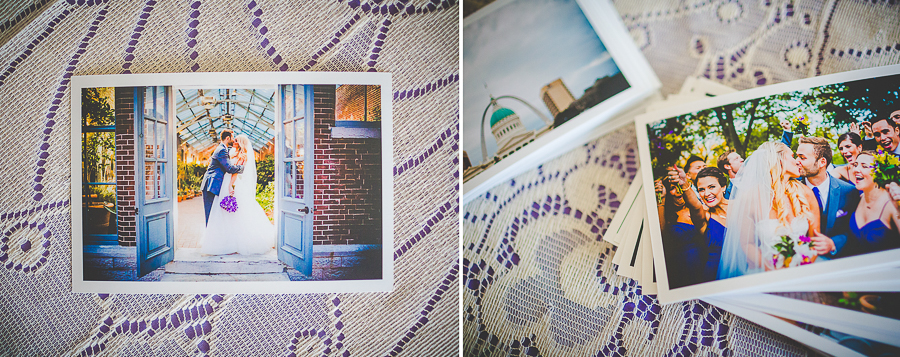
Proofs: I order 4×6 proofs from my printing lab with a white border and they are classy and beautiful. For portrait sessions, every image is printed out. If I do a wedding proof box, 100 images are included.
Thank You Cards: I include a handwritten Thank You note with all of my proof boxes. My Thank You cards change all of the time but, most of the time, they are (surprise!) floral. I’m kind of a grandma like that. I want lace and flowers on everything (and I may have bought a floral covered china pig at Fayetteville Funky Yard Sale while on a date with my husband last week but let’s act like that’s not the most grandma-ish purchase of my life because it’s amazing).
Ribbon: I wrap lace ribbon around the proofs, the USB, and the entire proof box. This ribbon changes a lot – I have a few favorite kinds, of course! – but I’m always buying new kinds of lace ribbons and trying them out. The one in these photographs is from Hobby Lobby and is one of my very favorites.
Business Cards: They go in every single proof box! I didn’t even think to photograph my cards because I’m so used to seeing them but my cards are super simple – they have a photograph that takes up all of one side and then my logo, website, and email on the other side. I’ve used the same cards for three years (I order them through MPixPro) and they work great! And that’s it! My proof boxes are super simple but super pretty and I’m so glad I got to talk about them with y’all today! If you’re struggling with your packaging at all, just remember to have fun with it! I love my packaging because it is 100% me – and yours should be, too! Even if you don’t like anything floral. Ha!
Weddings | Engagements | Seniors | Families | Personal
Inquire About Your Wedding Date + Book A Session With Lissa Chandler Here
![]()
![]()


So unique and beautiful! I love all the love you put into these for your clients <3